

Choosing the right Lifting Socket is a small decision with serious consequences. The socket connects wire rope, load, and lifting hardware, often above people, machinery, or valuable cargo. A mismatched socket can twist the rope, reduce efficiency, or fail without obvious warning. The details matter.
Grand View Research reported that the global material handling equipment market reached approximately USD 218 billion in 2023. It also forecasts continued growth through 2030. More lifting equipment means more selection pressure. Buyers must judge design, working load limit, rope diameter, material, and installation quality. The right choice is not always the largest socket. That assumption deserves challenge.
Ross Moloney, CEO of the Lifting Equipment Engineers Association, has stated: “Safe lifting depends on competent people, suitable equipment, and proper inspection.” This principle applies directly to every Lifting Socket decision. Check the manufacturer’s markings. Confirm the working load limit. Match the socket to the rope construction and termination method. Inspect the bowl, pin, shank, and securing parts. Do not rely on appearance alone.
Standards such as ASME B30.26, ISO 2415, and applicable workplace regulations provide useful reference points. However, standards do not replace engineering judgment. Field conditions can be untidy. Corrosion, side loading, sharp edges, and poor alignment may escape a quick inspection. These seven practical tips will help you select a socket more carefully, while recognizing an uncomfortable truth: even good equipment can become unsafe when people use it casually.
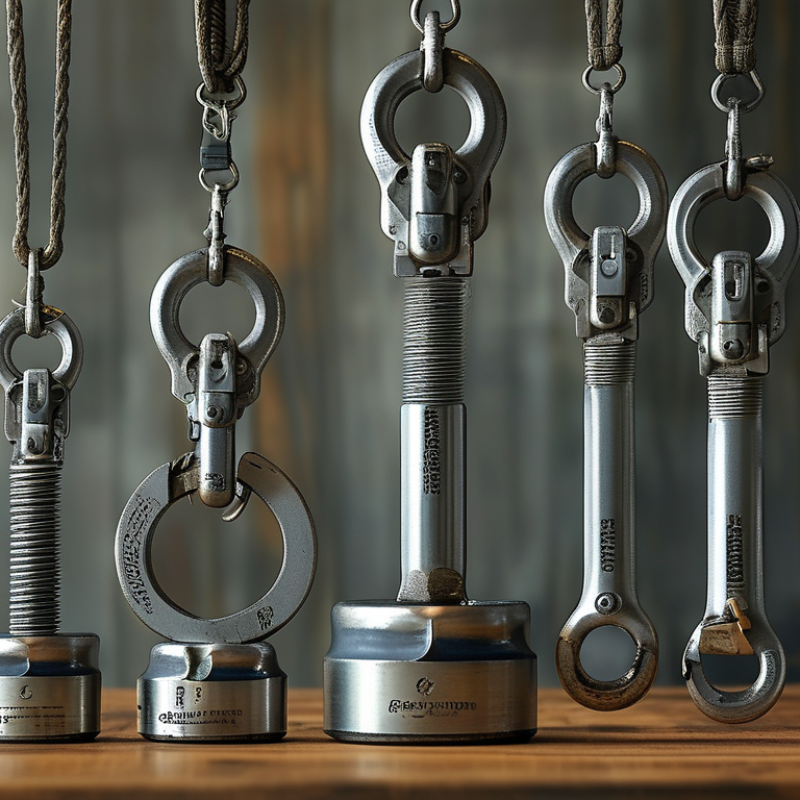
7 Tips for Choosing the Right Lifting Socket
Understanding lifting socket types prevents costly mistakes on site. Spherical-head sockets suit precast panels and beams with reusable lifting clutches. Threaded sockets work well where temporary lifting points need bolts and repeated access. Plate sockets distribute force across a wider concrete area, while wire-rope sockets can fit restricted edges. Do not choose by appearance. Check the working load limit, concrete strength, embedment depth, edge distance, and lifting angle. A socket rated for 2 tonnes may carry less when the sling pulls sideways.
The seven practical checks are simple: identify the load, confirm the anchor type, verify the rated capacity, inspect the concrete, calculate sling angles, check corrosion exposure, and follow the manufacturer’s installation method. EN 13155 covers many lifting attachments, while OSHA 29 CFR 1926.251 requires special lifting accessories to show their safe working load. The U.S. Bureau of Labor Statistics recorded 1,069 fatal work injuries in transportation and material-moving occupations in 2023. That figure is broader than socket use, but it shows why small lifting decisions matter.
Inspect the socket before every lift. Look for bent edges, damaged threads, rust, grout cracks, or a clutch that does not seat fully. Keep the load balanced. Never improvise with mismatched hardware. In practice, installers sometimes trust a familiar socket too quickly. I have seen drawings omit actual sling angles, creating false confidence. A second check by a qualified lifting engineer is slower, but often cheaper than repairing a failed lift or a damaged precast surface.
Understanding lifting socket types and their intended applications
This suitability map compares common lifting socket types with typical applications. A value of 1 indicates that the socket type is commonly intended for the application, while 0 indicates that it is not a typical use. Always verify the working load limit, load direction, concrete strength, embedment, installation quality, and applicable lifting standards before selection.
Choosing a lifting socket starts with the actual load, not a catalog image. Record the load weight, center of gravity, lifting angle, and pick-point direction. A 2,000-kilogram load may create much higher force at a steep sling angle. Small angles matter. Compare the socket’s working load limit with the calculated force, then apply a safety factor required by site procedures and applicable standards. Never treat breaking strength as a working limit. Ask a qualified lifting engineer when calculations are uncertain.
Inspect the socket material, thread engagement, pin condition, and contact surfaces. Select a design suited to the load path, not merely the available hole. Check side loading, shock loading, vibration, and repeated cycles. These conditions can reduce practical capacity. Working temperature, moisture, dust, and corrosive chemicals also affect performance. A socket used outdoors may need different protection from one inside a clean workshop. Keep the load aligned. It should lift smoothly, without twisting or scraping.
Before each lift, verify markings, inspection status, certificates, and compatible hardware. Confirm that the supporting structure is strong enough; the socket is not the only failure point. Use barriers and clear communication around the lifting area. Stop if the load shifts, the socket deforms, or the sling angle changes. I have seen teams focus on the rated number and overlook a damaged thread. That mistake is easy to repeat. Photos help, but they cannot replace hands-on inspection. Record uncertainties honestly, and remove questionable equipment until a competent person assesses it.
7 Tips for Choosing the Right Lifting Socket
Selecting the Correct Thread, Size, and Connection Configuration
Tip 1: Confirm the thread before checking appearance. Metric and imperial threads can look almost identical, yet they are not interchangeable. Measure the diameter, pitch, and thread form with proper gauges. A quick visual match can fool you. Check the socket documentation and the lifting anchor specification together.
Tip 2: Match the socket size to the rated load, not only the available opening. Consider working load limit, load angle, shock loading, and the connected hardware. Full thread engagement matters. Keep the threads clean, undamaged, and free from paint buildup. In practical inspections, even a small burr can prevent complete seating. That detail is easy to miss.
Tip 3: Select the correct connection configuration for the lifting direction. Fixed sockets suit controlled, vertical pulls, while swiveling arrangements may accommodate changing angles. Clevis, eye, and pin connections also require compatible dimensions. The pin must pass fully through the hole, without forcing or excessive side clearance. Never improvise with a bolt that merely fits.
Tip 4: Inspect the complete assembly before lifting. Look for deformation, corrosion, damaged threads, and unusual wear around the socket opening. Confirm that the socket, anchor, pin, and lifting accessory share a suitable rating. Follow the manufacturer’s instructions and have uncertain selections reviewed by a qualified lifting professional. I would recheck the choice after a trial fit; assumptions are not reliable evidence.
Start with the steel. A lifting socket should have documented material grades, heat treatment, and traceability. High-strength alloy steel may handle repeated loading, but hardness alone proves little. Ask for mill certificates and independent test records. Check the rated working load limit, thread condition, weld quality, and proof-test results. A socket that looks flawless can still hide fatigue damage.
Look beyond shine. NACE’s IMPACT study estimated global corrosion costs at about $2.5 trillion annually, equal to 3.4% of global GDP. Inspect zinc, plating, or stainless-steel options against salt spray, moisture, chemicals, and temperature changes. Corrosion resistance must match the working environment, not the product photograph. Drainage also matters. Trapped water inside a socket can quietly weaken threads and contact surfaces.
Ask for evidence. Manufacturing should follow recognized requirements, such as ASME B30.26 for rigging hardware or EN 13155 where applicable. Confirm dimensional checks, batch identification, non-destructive testing, and proof loading. The International Labour Organization reports millions of workplace injuries worldwide each year, so inspection discipline cannot be treated as paperwork. I once trusted a bright finish too quickly; that was poor judgment. Recheck the installation angle, embedment depth, and compatible lifting gear before use. Small documentation gaps deserve attention.
7 Tips for Choosing the Right Lifting Socket
Selecting a lifting socket starts with the installation environment, not the rated load alone. Check the concrete strength, reinforcement layout, edge distances, and available clearance before ordering. A socket may meet its load rating yet fail to fit the planned embedment depth. That mistake is expensive.
Compare cast-in and removable systems against the project schedule. Cast-in sockets can provide clean lifting points, but their position must remain accurate during concrete placement. Protect threads from grout and impact. Confirm the lifting direction, sling angle, and required hardware. Small details matter. Installation drawings should show orientation, depth, and approved accessories. I have seen teams rely on verbal instructions, which is convenient but unreliable.
Inspection practices reveal long-term value. Before each lift, inspect threads, deformation, corrosion, cracks, and missing markings. Use a calibrated gauge where appropriate, and record findings with photographs. Do not repaint damage or force a dirty connection. Periodic inspections should follow the socket’s instructions, site risk assessment, and applicable lifting regulations. Traceable records also help identify repeated overloads or poor storage. A cheaper socket can cost more when replacement access is difficult. Consider expected lifting cycles, exposure to water or chemicals, maintenance time, and worker training. The perfect choice is rarely the strongest option. It is the one that remains identifiable, inspectable, and suitable after years of real site use.
| Tip | Comparison Dimension | What to Check | Suitable Choice | Inspection Practice | Long-Term Value Indicator |
|---|---|---|---|---|---|
| 1 | Match the working load limit | Confirm the required load per socket, number of lifting points, sling angles, edge distances, concrete strength, and load distribution. Sling angles can increase the force in each leg. | A socket whose documented working load limit exceeds the calculated design demand under the actual lifting configuration. | Check that the socket identification and rated capacity remain legible and match the lift plan before every use. | Correct capacity selection reduces overload risk and avoids premature replacement caused by repeated overstressing. |
| 2 | Choose the installation method | Determine whether the socket will be cast into fresh concrete or installed afterward using an approved post-installed system. Review reinforcement layout, embedment depth, concrete cover, and access. | Cast-in sockets for planned precast production; engineered post-installed anchors only where the substrate, drilling method, and installation procedure are approved. | For cast-in units, verify position and securing before pouring. For post-installed units, record hole diameter, depth, cleaning method, torque, and installer qualification where required. | The best option minimizes rework, avoids reinforcement conflicts, and provides repeatable installation quality. |
| 3 | Verify concrete and substrate conditions | Consider concrete strength at the time of lifting, member thickness, cracking, spalling, moisture, corrosion, and the presence of reinforcement or embedded services. | A socket and anchorage arrangement specifically qualified for the concrete strength, member geometry, exposure, and expected load direction. | Inspect the surrounding concrete for cracks, chips, exposed reinforcement, grout loss, or local crushing before attaching lifting hardware. | Compatibility with the substrate helps prevent hidden damage and extends the service life of both the socket and concrete member. |
| 4 | Check geometry and connection fit | Compare thread or connection size, compatible lifting clutch or hardware, socket orientation, recess dimensions, required cover, and access for attachment and release. | A complete, compatible system in which the lifting component fully engages without cross-threading, binding, side loading, or forced alignment. | Clean threads and recesses; check for deformation, damaged threads, incomplete engagement, and unauthorized modifications. | Reliable fit reduces setup time, lowers handling errors, and limits wear on reusable lifting accessories. |
| 5 | Assess load direction and lifting configuration | Identify whether the socket is loaded in tension, shear, inclined tension, or a combination. Review turning, tilting, rotation, shock loading, and unequal leg lengths. | A socket and connection approved for the actual force direction and lifting procedure, with no unapproved side loading or impact loading. | Observe the first lift at low height when practical; stop if the member tilts unexpectedly, the hardware shifts, or the concrete shows distress. | Correct load-path design improves safety and reduces damage caused by uneven loading or unintended bending forces. |
| 6 | Review corrosion and environmental resistance | Evaluate indoor or outdoor exposure, chlorides, de-icing salts, marine atmosphere, chemicals, wet-dry cycles, galvanic contact, and required protective coating. | Material and corrosion protection suitable for the exposure, with drainage and sealing details that do not trap water around the socket. | Look for rust scale, pitting, coating failure, blocked threads, water retention, and section loss. Remove from service if damage affects capacity or engagement. | Appropriate corrosion control lowers inspection frequency, repair costs, and the likelihood of premature replacement. |
| 7 | Compare documentation, traceability, and total cost | Review drawings, installation instructions, rated capacities, material information, inspection criteria, test records, service history, and replacement-part availability. | A documented system with clear identification, verifiable capacity data, defined discard criteria, and support for training and recordkeeping. | Maintain an asset register with installation date, location, inspection results, defects, repairs, and removal-from-service decisions. Follow applicable regulations and site procedures. | Total value includes installation labor, inspection time, downtime, replacement cost, training, and the consequences of an unclear or incomplete safety record. |


